Mastering the Scary Witch Face 3D Light Box Paper Cut for Professional Results
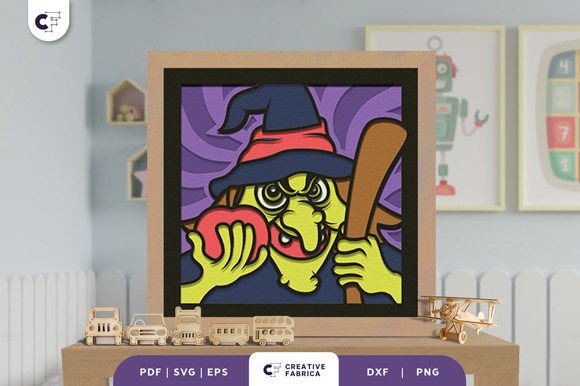
There is a distinct magic in transforming flat sheets of paper into a dimensional story that leaps off the wall. The Scary Witch Face 3D Light Box Paper Cut is more than just a seasonal decoration; it is a piece of art that beautifully captures the essence of folklore and fairytale storytelling. With its intricate details, specifically the iconic scene of the witch holding a poisoned apple, this project showcases the depth and shadow play that only layered papercraft can achieve. However, moving from a digital file to a stunning physical display requires more than just a cutting machine and enthusiasm. Many creators, whether hobbyists or small business owners, often overlook critical details in material selection and assembly that can drastically alter the final outcome.
When you decide to craft this Witch Poisoned Apple 3D Paper Cut, you are committing to a process where precision matters. The 3D effect makes it a standout piece intended to leave a lasting impression, but that effect is entirely dependent on how you handle the layers. A common misunderstanding among beginners is assuming that any paper will suffice. In reality, the structural integrity of an eight-layer shadow box relies heavily on the weight and texture of your cardstock. Using paper that is too thin can result in sagging layers that ruin the illusion of depth, while paper that is too thick may prevent the delicate details of the witch's face and the apple from cutting cleanly.
Selecting the Right Materials for Depth and Durability
To avoid the disappointment of a collapsed or flimsy shadow box, you must prioritize your material choices before you even open your design file. The recommended standard for this specific project is Encore Cardstock 80 lb cover (216 gsm). This weight provides the perfect balance: it is sturdy enough to hold the shape of the 3D tape spacers without bending, yet flexible enough to be cut with high precision by machines like Cricut or Siser.
Many crafters make the mistake of using standard 65 lb cardstock found in general craft stores to save money. While this might work for simple greeting cards, it lacks the rigidity needed for a 20.32×20.32 cm shadow box with eight distinct layers. When light is introduced behind the box, thinner paper can become translucent in unwanted areas, breaking the silhouette effect of the scary witch face. Furthermore, if you plan to sell these as finished goods or gifts, the durability of 80 lb cover stock ensures the piece survives handling and shipping without damage. Always check the GSM (grams per square meter) rating when buying supplies online to ensure consistency.
Navigating File Formats and Machine Settings
You will receive this Kids Shadow Box in multiple formats, including SVG, PDF, EPS, PNG, and DXF. A frequent error occurs when users select the wrong file type for their specific workflow. For instance, importing a PNG into a vector-based cutting software can lead to pixelated edges if the resolution isn't high enough, resulting in jagged cuts on the fine details of the witch's features. For the cleanest lines, always prefer the SVG or DXF files when using cutting machines, as these are vector formats that scale infinitely without losing quality.
Additionally, do not assume the default settings on your cutter are correct for 80 lb cardstock. It is essential to perform a test cut on a scrap piece of your chosen Encore Cardstock. Adjust the pressure and blade depth until the cut is complete but does not tear the backing mat. Over-cutting can fray the edges of the paper, which becomes highly visible once the layers are stacked and lit. Under-cutting leads to "weeding" nightmares where you accidentally rip out delicate sections of the apple or the witch's fingers while trying to remove excess paper.
The Critical Role of Adhesives and Spacing
The difference between a flat collage and a true 3D light box lies in the spacing between layers. This project requires 3D tape or foam adhesive squares to create the necessary gap for light to travel and cast shadows. A common pitfall is using liquid PVA glue directly between the main structural layers. While PVA glue is excellent for attaching the final frame or securing loose tabs, using it to stack layers compresses the paper, eliminating the 3D effect entirely.
Instead, apply 3D tape strategically. Place spacers in the corners and along the edges of each layer to ensure uniform depth. If the spacing is uneven, the light will pool in some areas and disappear in others, creating a muddy look rather than a crisp, defined image. When assembling, work from the background layer forward. Align each subsequent layer carefully against a light table or a bright window to ensure the registration is perfect. Even a millimeter of misalignment can make the witch's face look distorted rather than enchanting.
Lighting Considerations and Final Presentation
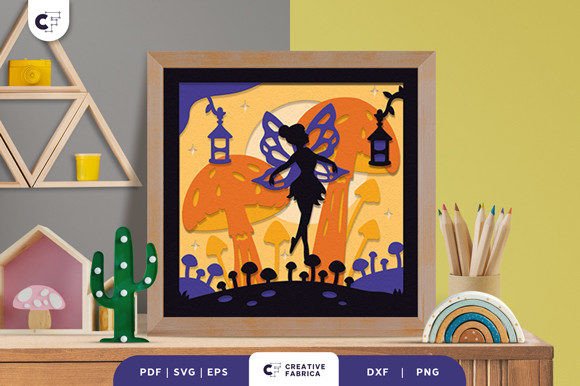
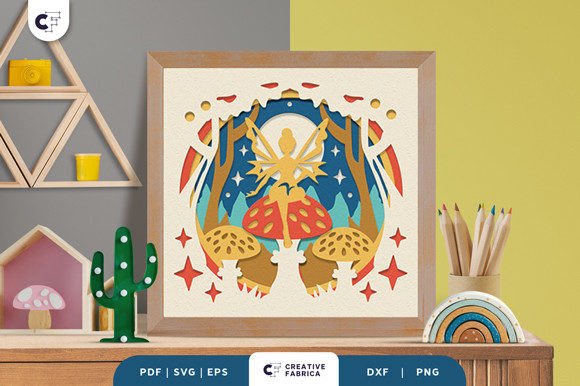
Once your Scary Witch Face 3D Light Box Paper Cut is assembled, the final variable is lighting. Note that preview images online are for demonstration purposes only; the actual final product color may slightly vary due to lighting sources and the specific hue of the paper color you selected. Warm white LED strips often enhance the spooky yet magical atmosphere better than cool blue lights, which can wash out the warm tones of the poisoned apple.
Before sealing your box, test different light positions. Placing the light source too close to the back layer can cause hotspots that burn out the details of the foreground. Ideally, the light should be diffused evenly across the back panel. If you are framing this piece, ensure the frame has enough depth to accommodate the eight layers plus the lighting element without crushing the paper.
Crafting this piece is an investment in time and creativity. By choosing the right 216 gsm cardstock, utilizing the correct vector files, and respecting the need for proper spacing with 3D tape, you ensure a professional finish. Whether you are building this for your own home decor or as part of a product line for your small business, attention to these details transforms a simple craft kit into a spellbinding work of art. Get yours today and be ready to be enchanted by its beauty, but remember that the magic lies in the execution.
For those looking to source the ideal materials mentioned, selecting high-quality supplies is half the battle won. You can explore options for premium papers that meet these weight requirements at specialized retailers. Click here to visit 12×12 Cardstock Shop to find the perfect match for your next project. This is a paid link at no extra cost to you, supporting the creation of more detailed guides like this one.